Quick Start
Build your first Shaft application in minutes.
Getting Started
Since Shaft is just a regular Swift package, the easiest way to start is using the official starter template CounterTemplate:
# Clone the template
git clone https://github.com/ShaftUI/CounterTemplate.git

# Navigate to directory
cd CounterTemplate

# Run the app
swift run
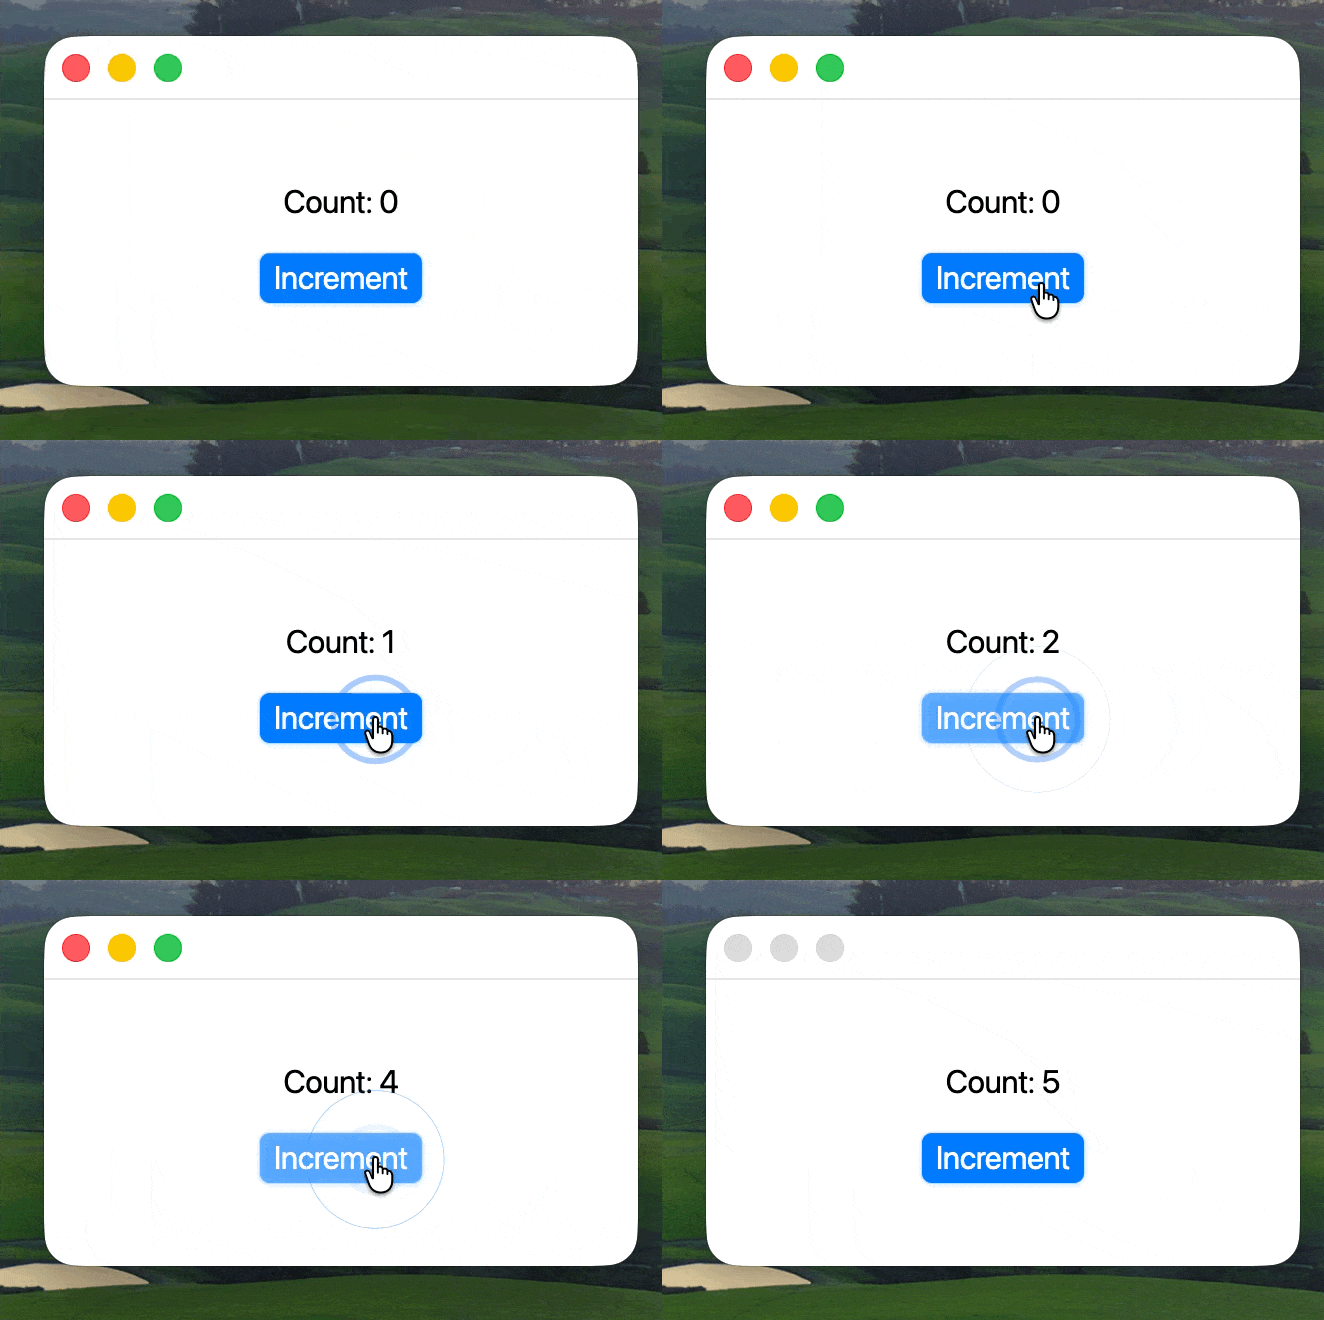
That’s it! You should see a window with a counter application:

Advanced: Creating a Project from Scratch
For experienced developers who want to set up a project manually:
1. Initialize a new Swift project
mkdir MyShaftApp
cd MyShaftApp
swift package init --type executable
2. Initialize Swift Package
Update the Package.swift file to include the Shaft framework:
// swift-tools-version: 5.10
import PackageDescription

let package = Package(
    name: "MyShaftApp",
    platforms: [.macOS(.v13)],
    dependencies: [
        .package(
            url: "https://github.com/ShaftUI/Shaft.git",
            branch: "main"
        )
    ],
    targets: [
        .executableTarget(
            name: "MyShaftApp",
            dependencies: [
                .product(name: "Shaft", package: "Shaft"), // The core Shaft framework
                .product(name: "ShaftSetup", package: "Shaft"), // Desktop backend
            ]
        )
    ]
)
3. Write Your First App
Create Sources/MyShaftApp/main.swift with your app code:
import Shaft
import ShaftSetup

Shaft

runApp(
    Text("Hello, Shaft!")
)
4. Run Your App
swift runUnderstanding the Code
Let’s break down the hello world example:
Imports
Import the required frameworks to access widgets and functionality:
import Observation
import Shaft
import ShaftSetup- Observation: Swift’s built-in observation framework for reactive programming
- Shaft: The core UI framework
- ShaftSetup: Automatically configures the best backend for your platform
Backend Setup
Initialize Shaft with the default backend:
// Use the default backend
ShaftSetup.useDefault()
The Shaft core framework is platform-agnostic by design—it doesn’t depend on any specific OS or windowing system. This makes it easy to port and customize, but it means you need to provide a backend for windowing and rendering.
ShaftSetup simplifies this by automatically configuring the best backend for your platform.
Hot Reload Setup (Optional)
For faster development, enable hot reloading:
#if DEBUG && !os(Windows)
    import SwiftReload
    LocalSwiftReloader(onReload: backend.scheduleReassemble).start()
#endif
This automatically reloads your app when you make changes to the source code.
Observable State
Create reactive state using Swift’s @Observable macro:
@Observable class Counter {
    var count = 0
}

let counter = Counter()- @Observable: Makes the class automatically notify UI when properties change
- var count: The state that will trigger UI updates when modified
Widget Definition
final class CounterView: StatelessWidget {
    func build(context: BuildContext) -> Widget {
        Column(mainAxisSize: .min, spacing: 16) {
            Text("Count: (counter.count)")

            Button {
                counter.count += 1
            } child: {
                Text("Increment")
            }
        }
        .center()
    }
}- StatelessWidget: A widget that doesn’t maintain internal state
- Column: Arranges children vertically with spacing
- Button: Interactive widget with click handler
- Text: Displays content, automatically updates when
counter.countchanges
Running the App
runApp(
    CounterView()
)
Launches the application with your root widget.
Building a Counter App
Let’s create something more interactive:
Next Steps
Now that you have a working Shaft application:
- Learn about Widgets - The building blocks of Shaft UI
- Explore State Management - Managing application state
- Check out more Tutorials - Real-world applications